Troubleshooting Low Pressure in Cartridge Liquid Filtration Systems
Low pressure in cartridge filters usually stems from clogging, wrong sizing, or system misalignment. Check differential pressure, inspect upstream conditions, and verify media selection. Proper maintenance and monitoring prevent most flow loss issues.
- Monitor differential pressure to catch clogging early before flow drops significantly.
- Verify cartridge sizing against design flow and pressure specifications.
- Inspect upstream piping and strainers to prevent debris from reaching the main media.
- Use the correct media for your specific liquid chemistry and solids load.
- Replace cartridges on a scheduled basis based on performance data, not just visual inspection.
A sudden drop in flow or an unexpected pressure differential in a cartridge filtration setup is a common operational headache. Engineers and maintenance teams often suspect the filters themselves first. However, the issue may lie in upstream conditions, incorrect sizing, or system configuration errors.
This guide walks through the most frequent symptoms, likely causes, and practical fixes for low pressure in cartridge liquid filtration systems. The goal is to help you isolate the problem quickly and restore stable flow.
Identifying the Core Symptoms
Before opening any equipment, observe the system behavior. Low pressure can manifest in several ways depending on the monitoring setup. Pay attention to these indicators:
- Differential pressure across the filter housing rises above normal operating range.
- Flow rate decreases while pump output remains constant.
- Pressure readings on the discharge side fall below expected levels.
- Filter housing shows visible signs of leakage or damage.
- Upstream pressure remains stable, but downstream pressure drops.
These symptoms often point to different root causes. A rising differential pressure with stable upstream pressure typically indicates media clogging. The filter media is physically restricting flow as solids accumulate on its surface. This creates a restriction that increases resistance.
A general pressure drop across the system might suggest a leak, pump issue, or upstream restriction. If the upstream pressure falls, the pump may be losing prime or the supply line may be starved. If the discharge pressure falls while the upstream side stays high, the restriction is likely internal to the filter or in the downstream piping.
Check the pump curve as well. Pumps operate at a specific point on their curve. If the system resistance increases due to a clogged filter, the operating point shifts. The pump may deliver less flow even if the impeller is turning at full speed. This relationship between pressure differential and flow rate is critical for distinguishing between a mechanical failure and a filtration issue.
Common Causes of Low Flow
Cartridge filters are designed to remove particles and contaminants from liquids. When performance degrades, several factors come into play.
Media Saturation and Clogging
The most common cause is the accumulation of solids on the media surface. As particles deposit, the open area for flow decreases. This increases resistance and raises differential pressure. Fine particles or high solids loads accelerate this process. The media acts as a sieve, but once the pores are blocked, the liquid must find alternative paths through the remaining open channels. This path is longer and more tortuous, increasing the energy required to push the liquid through.
Incorrect Cartridge Sizing
If the cartridge surface area is too small for the required flow, the system will operate near its limits from the start. This leads to rapid clogging and pressure loss. Always verify that the selected cartridges match the design flow rate and pressure differential. A common error is selecting a cartridge based on the number of elements rather than the total wetted area. Two different cartridge sizes can have the same number of elements but vastly different surface areas. The wrong size causes the filter to reach its end-of-life pressure differential quickly, forcing frequent changes.
Upstream Contamination
Debris, scale, or larger particles entering the system can bypass the main filter or clog it prematurely. If the upstream strainer is dirty or bypassed, the cartridge takes the full load. Large particles that hit the inlet end of the cartridge can wedge themselves in the media, creating a local blockage. This is often called blinding. Blinding reduces the effective flow area significantly even if the bulk of the media is clean.
Chemical Incompatibility
Certain liquids can react with the media material, causing swelling or degradation. This reduces the effective flow area and compromises filtration. For example, some organic solvents can attack polypropylene media, causing it to soften or dissolve slightly. This changes the pore size and can lead to breakthrough of contaminants. Always match the media material to the chemical composition of the liquid being filtered.
System Leaks
Leaks in the piping, flange joints, or housing gaskets can cause pressure loss. Even small leaks reduce the effective pressure available for flow. A leak at a flange joint may not be visible immediately if the joint is tight enough to prevent a large burst, but it can still cause a slow pressure drop that affects flow. Check for wet spots, corrosion, or mineral deposits around joints.
Troubleshooting Table
Use this table to match symptoms with likely causes and immediate actions.
| Symptom | Likely cause | What to do |
|---|---|---|
| High differential pressure, stable flow | Media clogging or saturation | Replace cartridges or clean housing if reusable |
| Low flow, high differential pressure | Overloaded system or wrong cartridge size | Verify sizing; reduce flow or upgrade media |
| Low flow, normal differential pressure | Upstream leak or pump issue | Inspect piping; check pump performance |
| Pressure drop after maintenance | Gasket damage or loose flanges | Check seals; tighten connections; inspect housing |
| Intermittent flow loss | Debris in upstream strainer | Clean or replace upstream strainer |
| Rapid clogging despite new filters | Chemical incompatibility or wrong media | Review liquid chemistry; select appropriate media |
Step by Step Diagnostic Process
When low pressure occurs, follow this structured approach to isolate the issue.
-
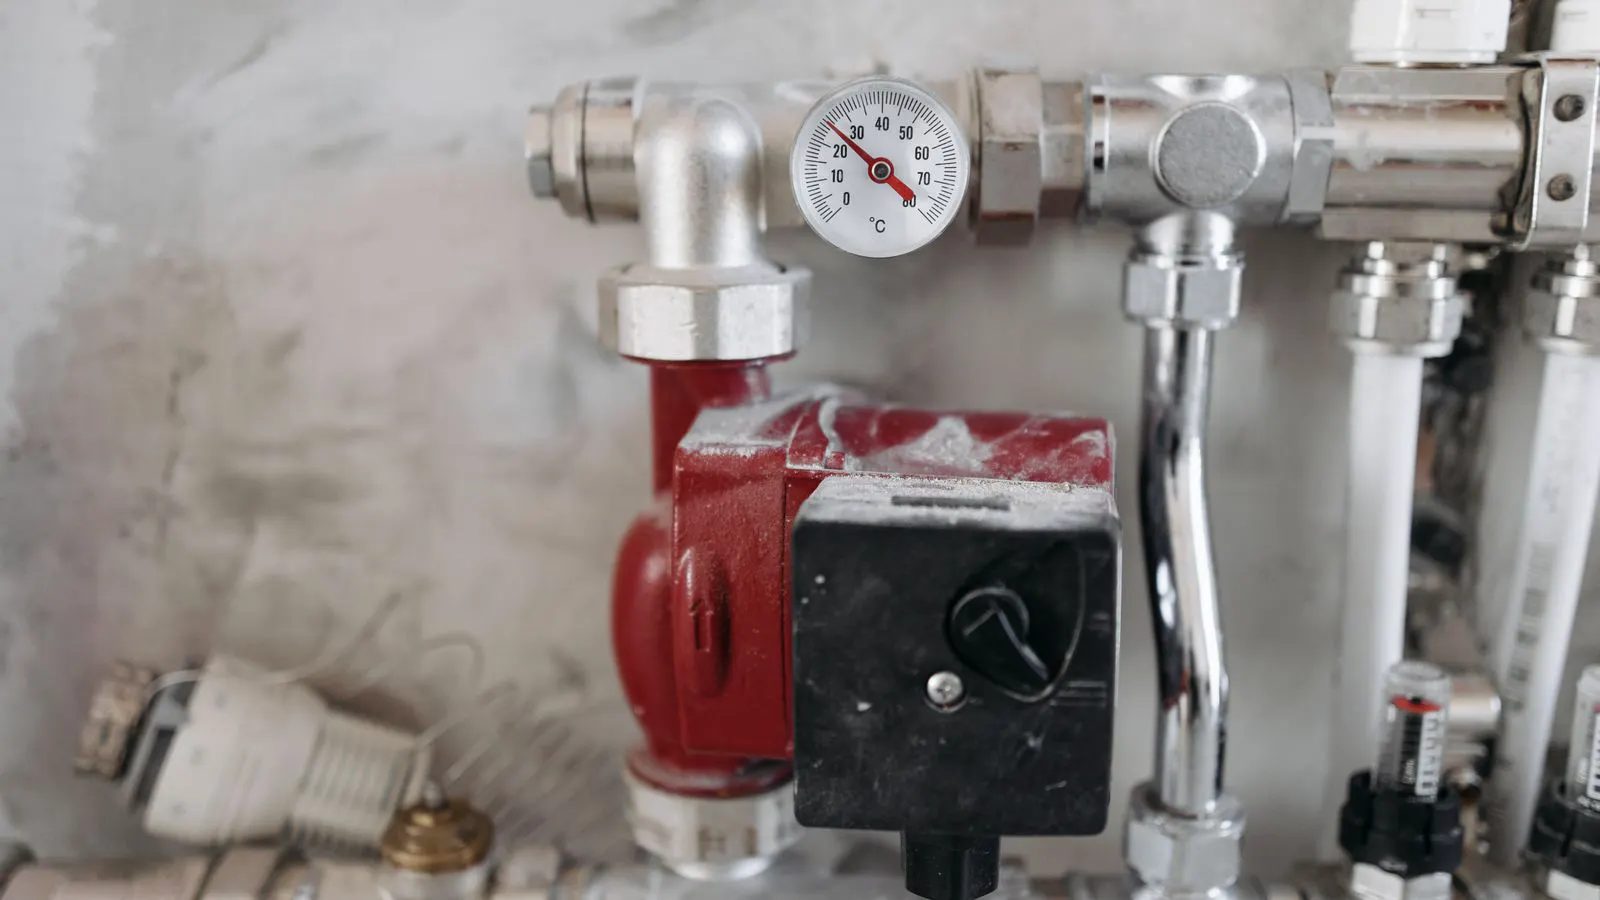
Check Instrumentation: Verify that pressure gauges are functional and calibrated. A faulty gauge can show false readings. Compare upstream and downstream pressure values against historical baselines. If you do not have historical data, take a reading now and label the date and time. This creates a baseline for future comparisons. Also check the gauge diaphragm for damage or sticking. A stuck needle can give a misleading static reading that does not reflect the actual dynamic pressure in the system.
-
Inspect Upstream Conditions: Look at the source tank or supply line. Is there visible debris? Check the upstream strainer. If it is clogged, clean or replace it. This step often reveals hidden blockages before they reach the main filter. A clogged strainer increases the suction demand on the pump. If the pump is already near its cavitation limit, this extra demand can cause the pump to lose efficiency or even cavitate, leading to noise and vibration. Listen for these sounds. They are often an early warning of upstream problems.
-
Examine the Filter Housing: Open the housing carefully. Look for damaged gaskets, cracked housings, or debris trapped around the cartridge ports. Ensure the cartridge is seated correctly and the end cap is tight. When opening the housing, note the condition of the old cartridges. Are they uniformly clogged, or is one side heavily loaded? This visual inspection can tell you about flow distribution. If one side is clogged and the other is clean, the flow distribution inside the housing may be uneven. This could be due to a misaligned cartridge or a damaged inlet screen.
-
Verify Cartridge Specification: Compare the installed cartridge against the system design document. Confirm the surface area, media type, and maximum differential pressure rating. If the system has been modified or the liquid composition has changed, the original sizing may no longer be valid. Check the part number on the cartridge against the part number in the design document. Sometimes, a replacement part from a different manufacturer may have similar dimensions but different media porosity or surface area. This can change the performance characteristics of the filter.
-
Test Without the Filter (If Safe): In some systems, you can bypass the filter temporarily using a bypass line. If flow improves significantly, the issue is within the filter or its immediate connections. If flow remains low, the problem is upstream or in the pump. Always ensure safety protocols are followed before bypassing a filter. The liquid may contain hazardous substances that require proper handling. Do not bypass a filter if it is protecting downstream equipment from particulates that could cause damage.
-
Review Maintenance Records: Check when the last cartridge replacement occurred. If the filters are near their expected end of life, replace them regardless of symptoms. A new set of filters often resolves gradual pressure loss. Keep a log of when filters were changed and what the differential pressure was at that time. This log helps you understand the service life of the filters under your specific operating conditions. If the pressure drops slowly over time, the filters are working as intended. If they drop rapidly, something is wrong.
Selecting the Right Media
Media selection directly impacts how quickly filters clog. The wrong choice leads to frequent replacements and unnecessary downtime.
Consider the particle size, liquid viscosity, and chemical composition when selecting cartridges. Pre-coated or high-porosity media handle fine particles better than bare media. For aggressive chemicals, choose media with chemical resistance. The pore size of the media determines the smallest particle it can effectively retain. If the pore size is too small, the filter will clog quickly. If it is too large, it may not meet the purity requirements of the downstream process.
Also consider the flow rate. Higher flow rates require larger surface areas or lower porosity to maintain performance. If you are experiencing early clogging, moving to a coarser media pre-filter or a larger cartridge may extend service life. A coarser pre-filter can remove larger particles before they reach the fine cartridge. This protects the fine media from blinding. It also allows the fine cartridge to focus on removing smaller particles, extending its service life.
Viscosity also plays a role. Highly viscous liquids have higher resistance to flow. They require more pressure to move through the media. If the liquid viscosity increases due to temperature changes or composition changes, the pressure differential will rise even if the filter is not clogged. Check the viscosity of the liquid at operating temperature. Compare it to the viscosity used during the initial design phase. If it has increased, the filter may need to be resized or the operating pressure adjusted.
Maintenance and Prevention
Prevention is cheaper than troubleshooting. Implement these practices to maintain stable flow in your cartridge filtration system.
-
Establish a Baseline: Record normal differential pressure and flow rates after installation or major maintenance. Use these values as a reference for future checks. A baseline allows you to detect deviations early. If the differential pressure rises by 10 percent from the baseline, you have a warning sign. If it rises by 50 percent, you have a problem. Without a baseline, you may not notice gradual changes until the system fails.
-
Schedule Regular Inspections: Check pressure gauges, gaskets, and connections at regular intervals. Look for signs of wear, corrosion, or minor leaks. Visual inspections are simple but effective. They can reveal issues that instruments might miss. For example, a small leak at a flange may not affect the pressure reading significantly, but it can lead to contamination or loss of product.
-
Maintain Upstream Strainers: Keep the upstream strainer clean. A dirty strainer forces the main cartridge to handle extra load, accelerating clogging. Clean or replace the strainer according to its design specifications. Monitor the strainer differential pressure as well. If it rises, the strainer is clogging.
-
Use End-of-Life Indicators: Some filter housings have built-in differential pressure indicators. If yours does, set alerts when the pressure difference exceeds safe limits. These indicators provide a visual cue that the filter needs replacement. They are simpler than gauges and less likely to be misread by operators.
-
Document Changes: If the liquid source, flow rate, or temperature changes, update the filter selection. A system designed for one process may not handle a different one without adjustment. Keep a record of any changes to the process. This record helps you understand why filter performance has changed. It also provides a reference for future troubleshooting.
-
Train Operators: Ensure maintenance staff understand how to read pressure readings and perform basic inspections. Early detection of issues prevents major failures. Operators should be trained to recognize the signs of clogging, leaks, and instrument failure. They should know when to call for engineering support and when to perform basic maintenance.
When to Replace vs. Repair
Not every low pressure issue requires a full cartridge replacement. If the housing has a damaged gasket or a loose flange, fixing the seal may restore flow. However, if the media is saturated, replacement is necessary.
Do not attempt to clean disposable cartridges. They are not designed for reuse. For reusable filter elements, follow the manufacturer’s cleaning procedure carefully. Improper cleaning can damage the media and cause leaks or reduced performance.
Determine the root cause before deciding on a repair or replacement. If the pressure drop is due to a clogged strainer, cleaning the strainer will fix the problem. If the pressure drop is due to a clogged cartridge, replacing the cartridge will fix the problem. If the pressure drop is due to a pump issue, repairing the pump will fix the problem.
Consider the cost and downtime associated with each option. Replacing a cartridge is usually quick and cheap. Replacing a housing gasket is also quick. Repairing a pump can take time and money. If the issue is minor, address it immediately. If the issue is major, plan for a shutdown if necessary.
By checking instrumentation, inspecting upstream conditions, and verifying cartridge specifications, you can diagnose the problem quickly. Regular maintenance and proper media selection will reduce the frequency of these issues and keep your system running smoothly.
Frequently asked questions
How often should I replace my cartridge filters?
Replacement depends on the liquid composition, flow rate, and particle load. Monitor differential pressure and replace when it exceeds the manufacturer's recommended limit or when flow drops noticeably.
Can I reuse cartridge filters after they are clogged?
No. Disposable cartridges are not designed for cleaning or reuse. Reusing them can compromise filtration performance and cause leaks. Replace them with new units.
What if my differential pressure is high but flow is still normal?
High differential pressure with stable flow indicates the media is clogging but has not yet restricted flow significantly. Replace the cartridges soon to prevent flow loss and potential damage to the pump.
Why is my filter clogging faster than expected?
Check if the upstream strainer is dirty or if the liquid contains more solids than anticipated. Also verify that the cartridge size and media type are appropriate for your specific liquid and flow rate.
Does the liquid temperature affect filtration performance?
Yes. Temperature changes can affect liquid viscosity and chemical reactions. Higher temperatures may reduce viscosity, allowing finer particles to pass, or accelerate clogging. Always select media suitable for your operating temperature.